Xperience by Kentico (XbyK) – Step by Step Setup & Advantages
1. Overview
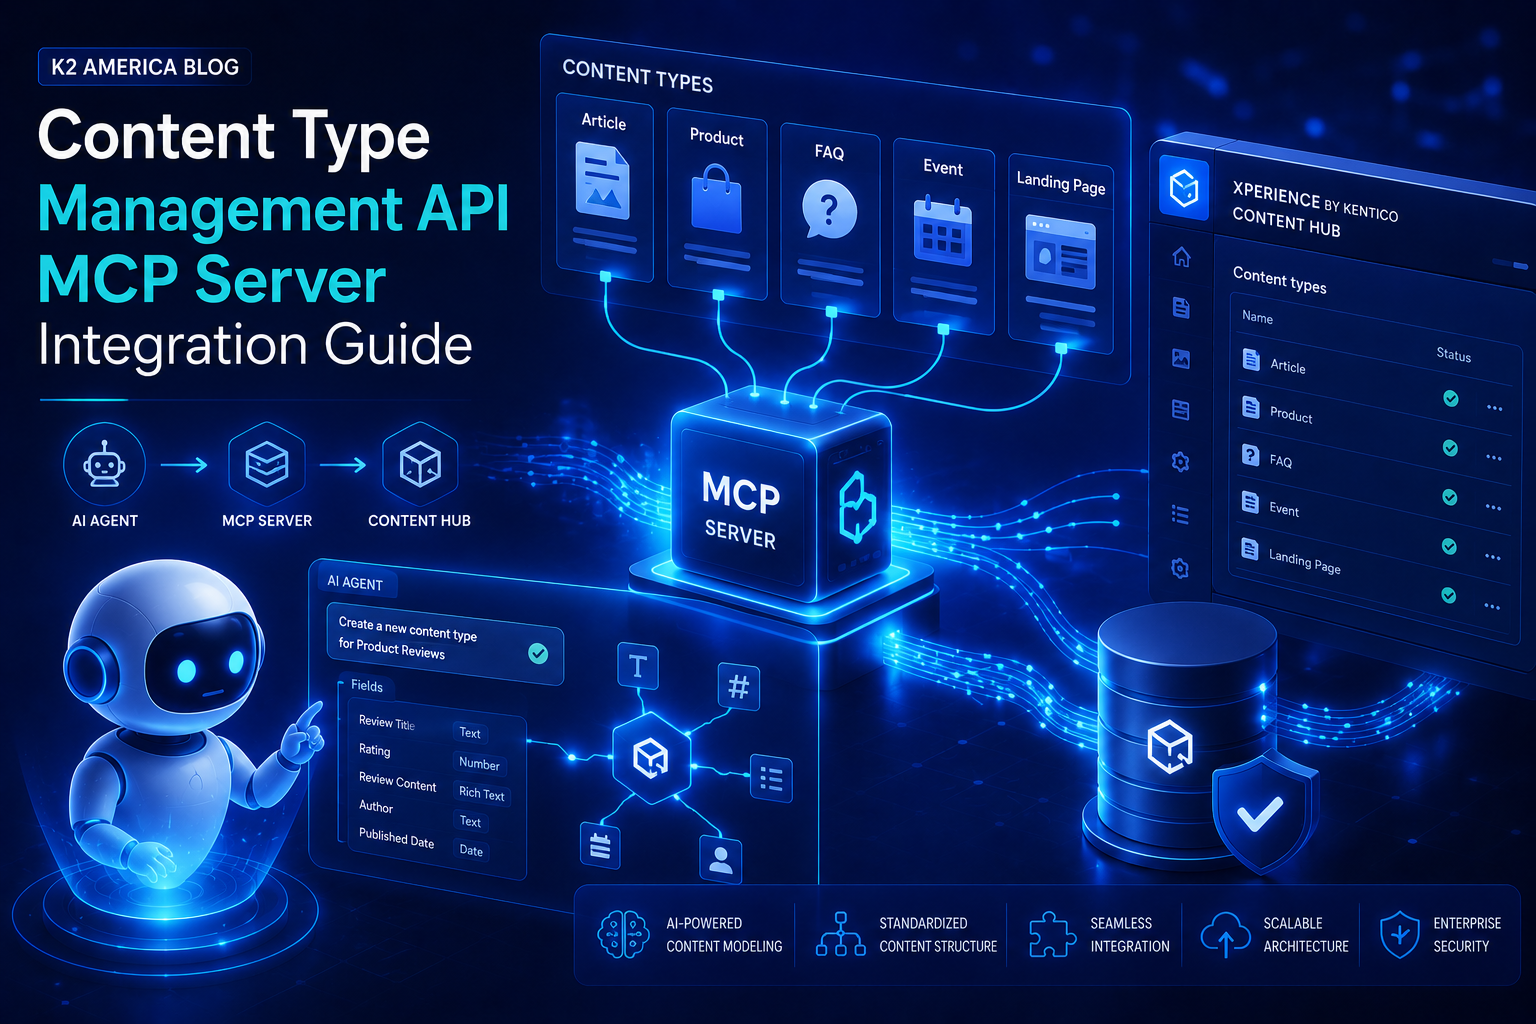
The Xperience by Kentico Management API provides endpoints for managing content types and reusable field schemas through Create, Read, Update, and Delete (CRUD) operations. It is designed primarily for local development and AI-assisted workflows.
IMPORTANT: The Management API is intended only for local development environments. Do NOT enable it in production environments.
2. Prerequisites
Before starting, ensure the following:
- Xperience by Kentico project running locally
- NET compatible environment
- Node.js installed (supported version Node.js 22 or newer)
- AI-enabled IDE such as VS Code with Copilot (optional but recommended)
3. Install Management API Package
Install the prerelease NuGet package into your Xperience project:
Kentico.Xperience.ManagementApi

4. Configure Program.cs
Update your Program.cs file to enable the Management API only for Development environment.
Add the following inside the builder configuration:
if (builder.Environment.IsDevelopment())
{
builder.Services.AddKenticoManagementApi(options =>
{
options.Secret = "your 32 character secret key here";
});
}
Add middleware in correct order:
app.UseAuthentication();
if (builder.Environment.IsDevelopment())
{
app.UseKenticoManagementApi();
}
app.UseKentico();
app.UseAuthorization();
The Secret must be at least 32 characters. This will be used by the MCP server for authentication.
5. Setup Management API MCP Server
The MCP server enables AI tools to interact with the Management API automatically.
Step 1: Ensure Node.js is installed.
Step 2: Install @kentico/management-api-mcp npm package.

- Install package -npmi @kentico/management-api-mcp.
- Run the npminstall to install packages
- Run the npmrun dev to start watcher that will rebuild themcpon any change.
Step 3: Create or edit mcp.json inside your project’s .vscode folder.
Step 4: Add the following configuration:
{
"servers": {
"xperience-management-api": {
"type": "stdio",
"command": "npx",
"args": [
"@kentico/management-api-mcp@latest"
],
"env": {
"MANAGEMENT_API_URL": "http://localhost:5001/kentico-api/management",
"MANAGEMENT_API_SECRET": "your 32 character secret key here"
}
}
}
}

Adjust the port number to match your local Xperience instance.
Ensure the secret matches the value configured in Program.cs.
6. Start and Test the MCP Server
- Run your Xperience project locally.
- Start the MCP server in your IDE.

- Open your AI chat tool and verify the MCP server is listed.
- Test prompts such as:
- List all content types containing a specific field.
- Create a new content type with reusable field schemas.
7. Example AI Prompts
- List all content types containing a field with the 'Content item asset' data type.
- Which content types use the 'Product SKU' reusable field schema?
- Create a new content type named 'Coffee cup' with fields Size and Color.
8. Advantages of Using the Management API + MCP
- AI-Powered Content Modeling – Automate creation of content types.
- Faster Migration – Simplifies migration between environments.
- Automation Friendly – Easily integrate with CI/CD pipelines.
- Improved Developer Productivity – No manual UI configuration required.
- Structured Content Governance – Standardized content modeling.
- Accelerated Prototyping – Quickly test and generate content schemas.
- External System Integration – Sync content models programmatically.