
Supercharging Development with GitHub Copilot + MCP
Introduction
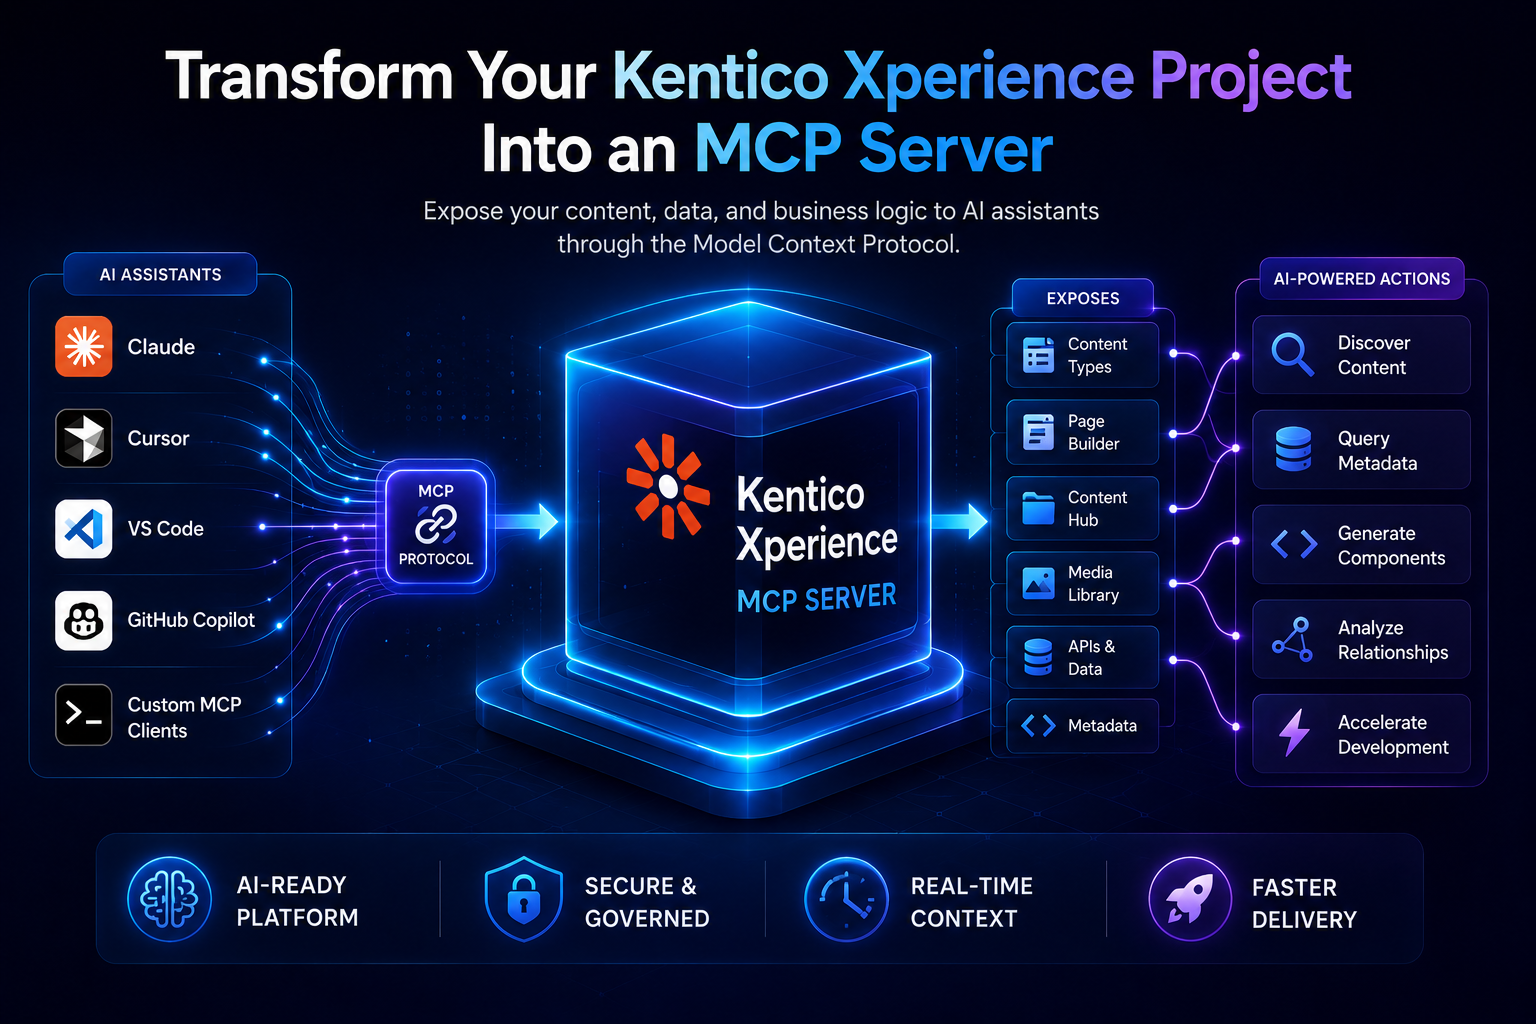
Modern development is evolving rapidly AI is no longer just autocomplete. This guide explains how to transform your Xperience by Kentico project into a fully working MCP (Model Context Protocol) Server and integrate it with GitHub Copilot Agent Mode for smarter, context aware development.
What is Model Context Protocol (MCP)
MCP allows AI tools like GitHub Copilot to interact directly with your running application through structured endpoints.
- Access real .NET services
- Read content models
- Execute tools securely
- Generate correct Kentico widgets
- Respect dependency injection and configuration
Tech Stack Used
- Xperience by Kentico (v30.4.1+)
- ASP.NET Core
- VS Code v1.100+
- GitHub Copilot + Copilot Chat
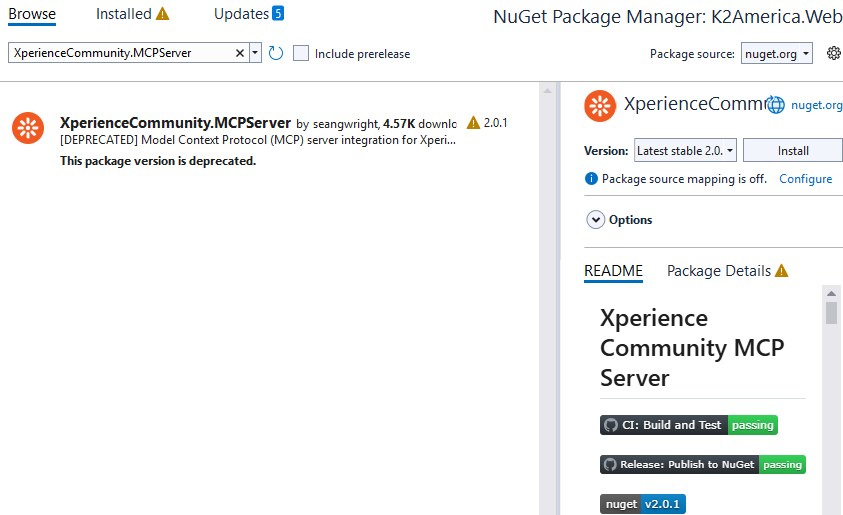
- XperienceCommunity.MCPServerNuGet Package
Step 1: Install MCP NuGet Package
Run the following command inside your Kentico ASP.NET Core project:
dotnet add package XperienceCommunity.MCPServer
Step 2: Configure Program.cs
Update Program.cs to register MCP services (Development only):
if (builder.Environment.IsDevelopment())
{
builder.Services.AddXperienceMCPServer();
}
if (builder.Environment.IsDevelopment())
{
app.UseXperienceMCPServer();
}
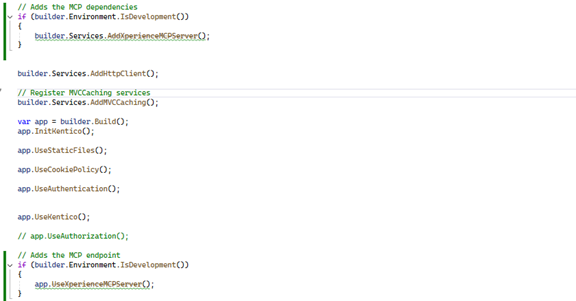
This ensures MCP runs locally and is not exposed in production.
Step 3: Install Required VS Code Extensions
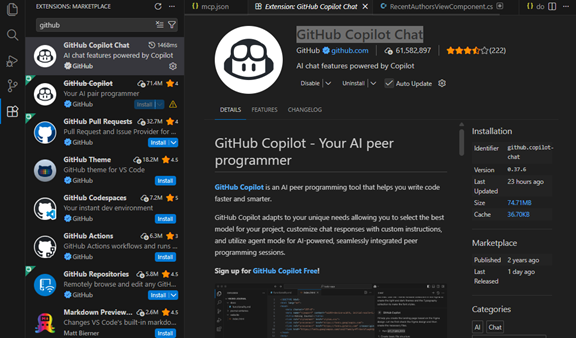
3.1 Install GitHub Copilot Chat
- Open VS Code → Extensions
- Search 'GitHub Copilot Chat'
- Install and sign in to GitHub
.png?language=en "Picture6 (1)")
3.2 Install GitHub MCP Server Extension
- Search '@mcp' in Extensions
- Select GitHub MCP Server
- Install in Workspace
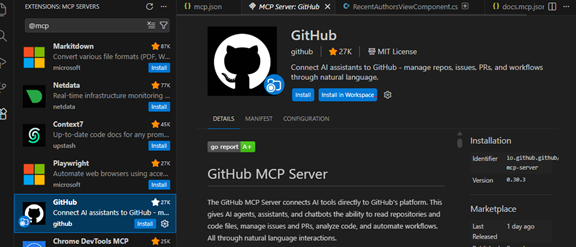
3.3 Configure mcp.json
{
"servers": {
"xperience-mcp-server": {
"type": "http",
"url": "http://localhost:<your-port>/xperience-mcp"
}
}
}
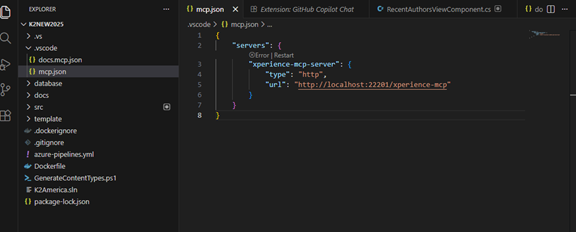
Step 4: Run the Application
Start your Kentico application locally. The MCP endpoint will be active at:
http://localhost:<port>/xperience-mcp
Step 5: Use GitHub Copilot Agent Mode
- Open Copilot Chat
- Switch to Agent Mode
- Selectmcp.jsonfrom Explorer
- Start chatting
- Your MCP server is now fully connected and ready.
- Copilot can now:
- Access Kentico services
- Query content types
- Generate widgets
- CreateViewComponents
- UseIContentQueryExecutor
- Resolve image URLs correctly
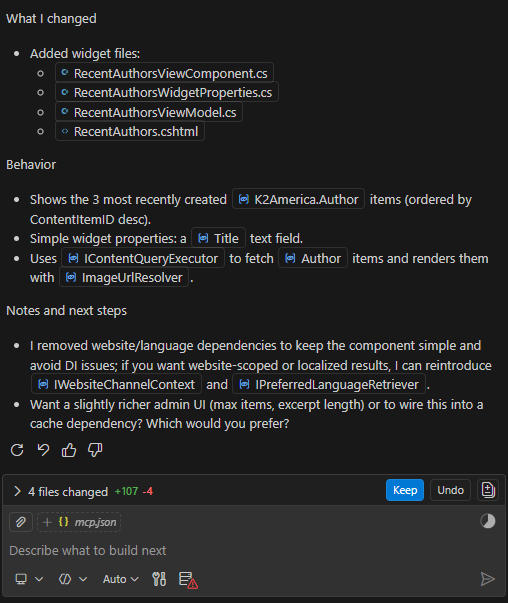
Real Example: Generating a Widget
I asked Copilot: “Create a widget that displays the 3 most recent Author items.”
Copilot:
- Read content schema
- GeneratedViewComponent
- CreatedViewModel
- Built Widget Properties
- Used real Kentico APIs
- Produced working code immediately
- No hallucinated APIs.
- No broken references.
- No trial and error.
Benefits of Using MCP
- AI uses real Kentico APIs
- Secure (Development only exposure)
- Massive productivity improvement
- Schema aware content modeling
- Fully customizable and extensible
Final Thoughts
Turning your Kentico project into an MCP Server bridges Kentico, ASP.NET Core, and AI-powered development. Once AI understands your real application context, development becomes faster, smarter, and significantly more productive.

 by Sukhveer Kaur